
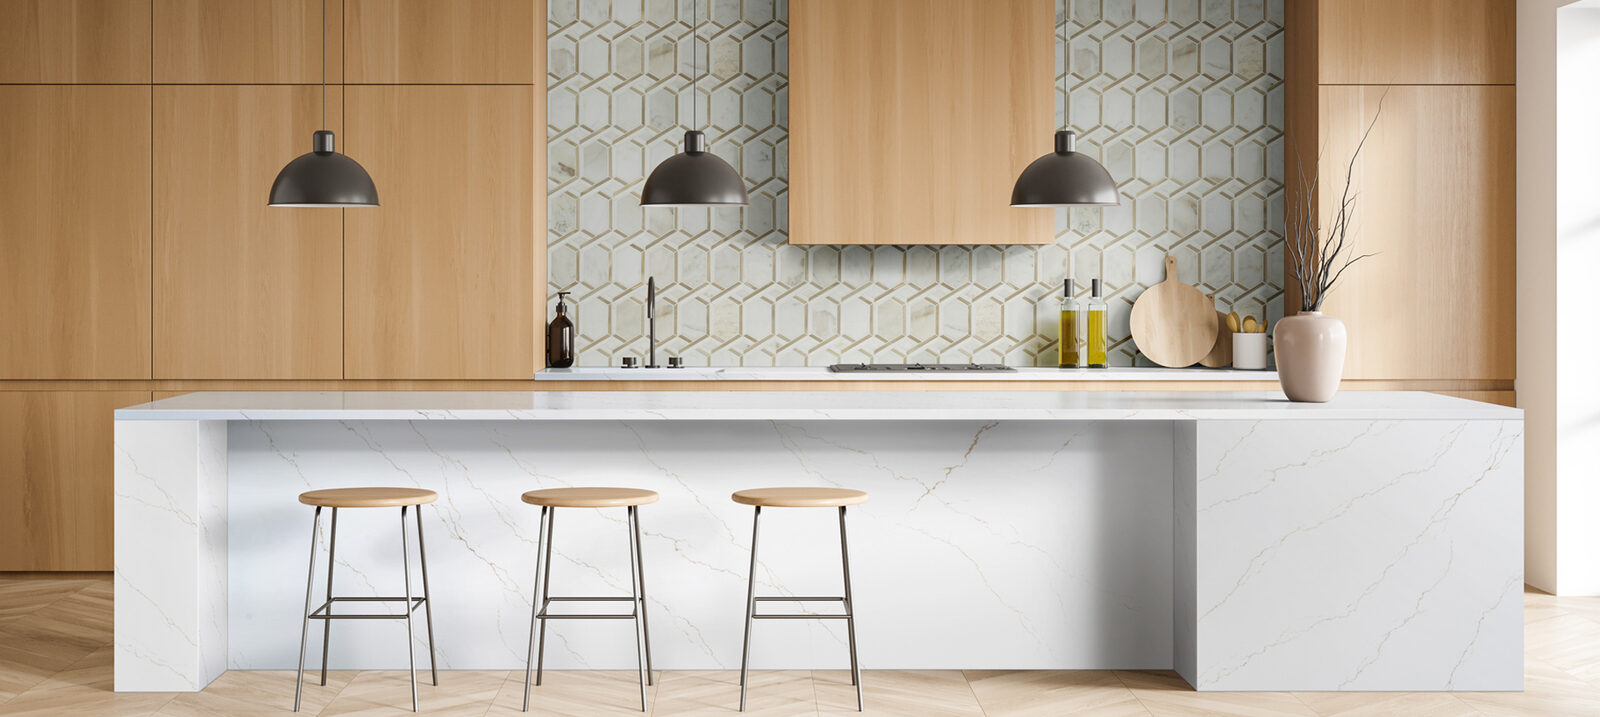
Faucets
Kitchen faucets to pair with your new countertop.

1-handle-1-spray-tub-and-shower-faucet-608-with-pressure-balance-valve-gold
gold

1-handle-1-spray-tub-and-shower-faucet-608-with-pressure-balance-valve-nickel-brushed
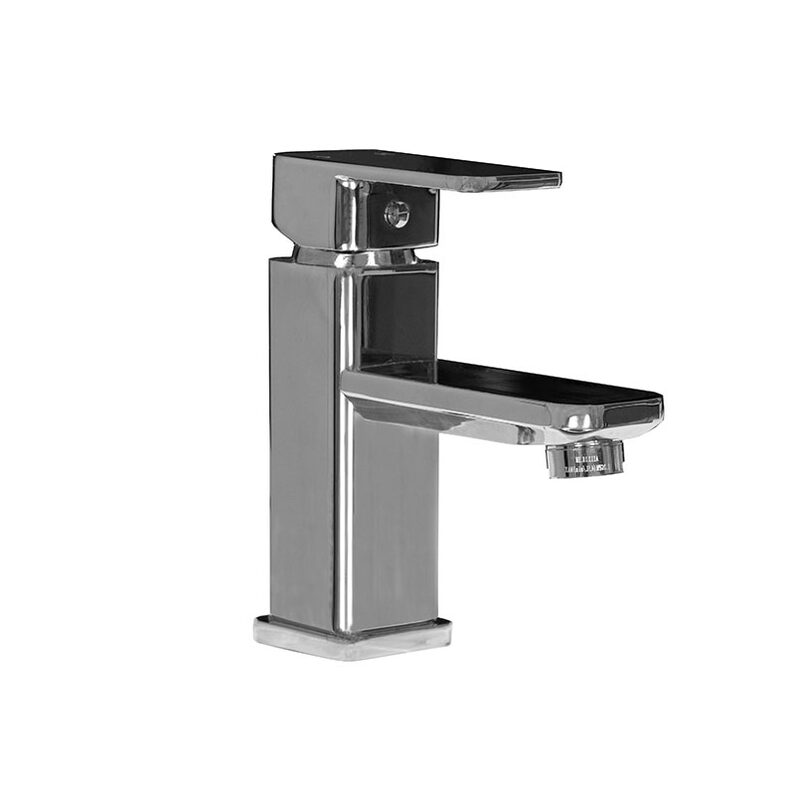
1-handle-bathroom-faucet-401-chrome
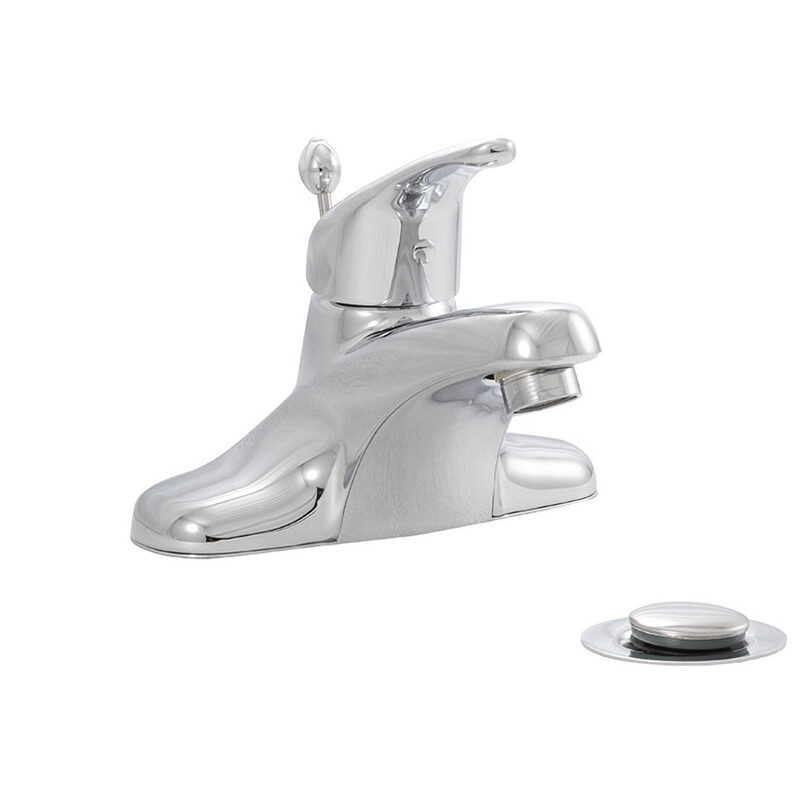
1-handle-bathroom-faucet-406-chrome

1-handle-bathroom-faucet-gold
gold

1-handle-bathroom-faucet-nickel-brushed

1-handle-pull-down-sprayer-kitchen-faucet-with-deckplate-803-gold
gold

1-handle-pull-down-sprayer-kitchen-faucet-with-deckplate-804-gold
gold

1-handle-pull-down-sprayer-kitchen-faucet-with-deckplate-804-nickel-brushed

1-handle-pull-out-sprayer-kitchen-faucet-802-chrome

1-handle-pull-out-sprayer-kitchen-faucet-803-chrome
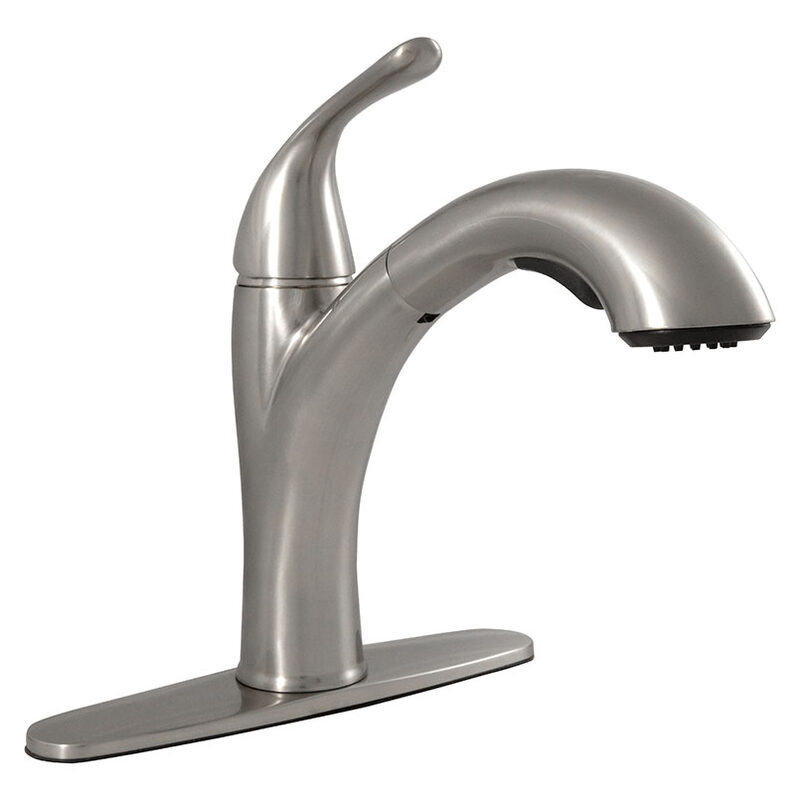
1-handle-pull-out-sprayer-kitchen-faucet-804-brushed-nickel

1-handle-pull-out-sprayer-kitchen-faucet-805-brushed-nickel

1-handle-shower-tub-faucet-607-brush-nickel

1-handle-shower-tub-faucet-608-chrome
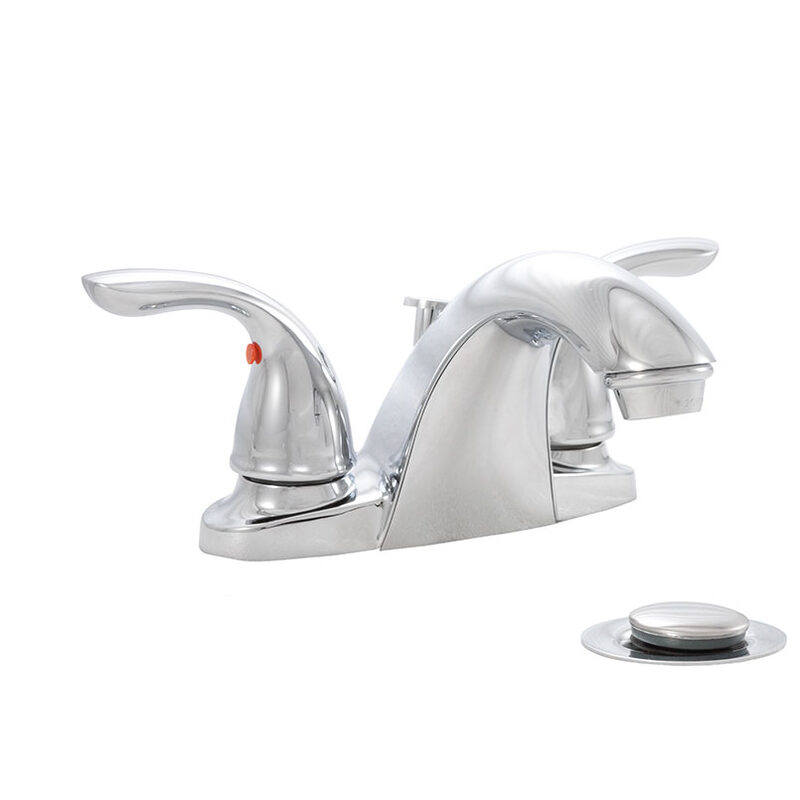
2-handle-bathroom-faucet-403-chrome
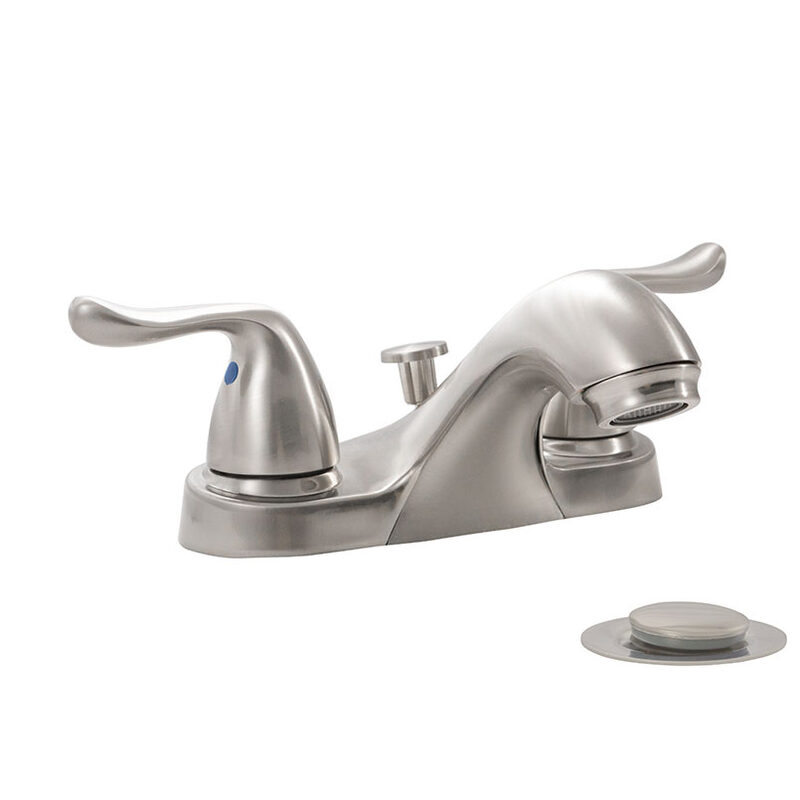
2-handle-bathroom-faucet-405-brushed-nickel
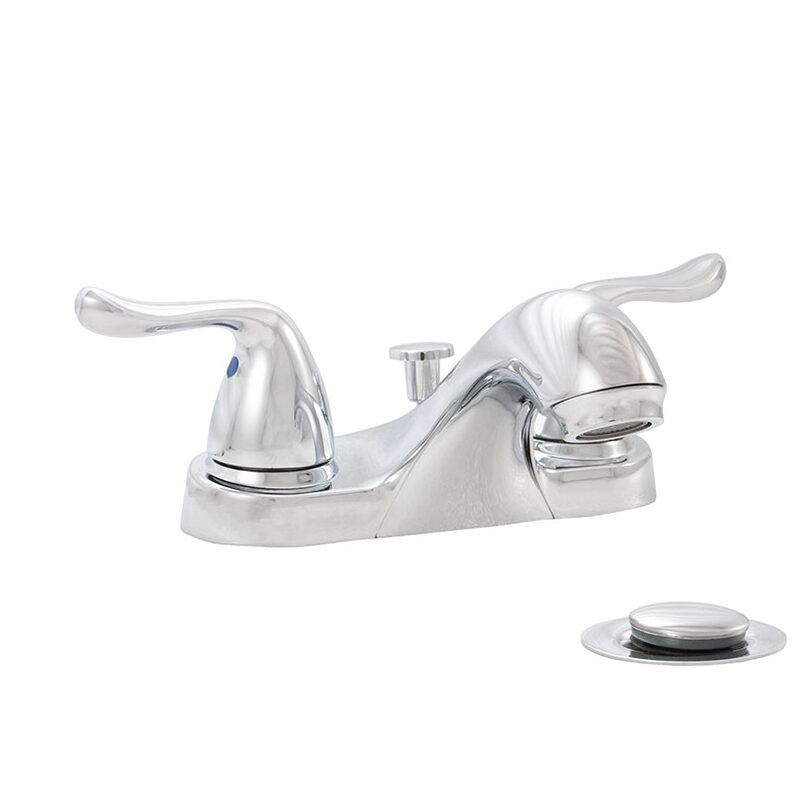
2-handle-bathroom-faucet-405-chrome

2-handle-bathroom-faucet-410-chrome

2-handle-kitchen-faucet-805-chrome

touch-less-infrared-sensor-bathroom-faucet-421-chrome

touch-less-infrared-sensor-bathroom-faucet-811-chrome

touch-less-infrared-sensor-kitchen-faucet-811-chrome

touch-less-infrared-sensor-kitchen-faucet-812-chrome
How to choose faucets
Design rules that hold up after the showroom lighting is gone.
60-30-10 color proportions
Split the kitchen roughly 60% dominant color (perimeter cabinets and walls), 30% secondary (countertops, backsplash, island, or floor), and 10% accent (hardware, faucet, lighting, stools). Treat it as a visual guideline, not a tape-measure spec.
Why: Proportion enforces hierarchy — one lead, one supporting act, one spark — so bold choices read intentional instead of chaotic.
60-30-10 split
Aim for roughly 60 percent dominant color (cabinets/walls), 30 percent secondary (counters/floor), and 10 percent accent (hardware, lighting, stools).
Why: Proportion keeps bold choices from taking over the room and gives accents somewhere to matter.
Faucet decided before countertop fabrication
Pick the faucet - and every deck accessory (soap dispenser, air gap, filtered-water tap) - before countertops are fabricated. Each hole is drilled cleanly at the shop for about $65-$120; drilling installed stone at the sink later is risky and often refused. Bridge faucets need two holes at 8 in centers; high-arc pull-downs stand 14-19 in tall, so check window sills and upper cabinets first.
Why: Hole count, spacing, and spout clearance are fabrication inputs, not installation-day details. Hole pricing per fabricator quoting guidance; spacing and heights per faucet spec guidance.
Negative sink reveal on soft stone
Avoid negative (overhung) sink reveals on marble and other soft stones, and weigh them carefully anywhere: the thin overhanging lip is one of the easiest edges in the kitchen to chip, and the hidden sink rim beneath it traps food film and mold unless cleaned deliberately.
Why: Fabricator guidance: overhanging edges risk chipping and conceal a rim that needs regular cleaning; zero reveals demand costly precision, and positive reveals remain the forgiving default most manufacturers template for.
Sink mount vs countertop material
Pair undermount and apron-front sinks with solid surfaces - granite, quartz, quartzite, or solid surface. On laminate or tile countertops, default to a drop-in sink: the exposed core at an undermount cutout has no finished edge and wicks water.
Why: Undermount rims clamp and bond to the underside of the slab; laminate substrates (particleboard/MDF) swell when the unsealed cutout edge stays wet. Industry consensus across fabricator guidance; no single citation.
Sink-to-cabinet sizing
Choose a sink at least 3 inches narrower than its base cabinet: a 30 in sink for a 33 in cabinet, a 33 in sink for a 36 in cabinet. Inside the cabinet, keep about 1 inch of clearance around the bowl so installers can set undermount clips and reach plumbing.
Why: Cabinet interiors measure 1-1.5 in less than nominal width once side panels are counted; mounting hardware, faucet supplies, and installer hands all need working room.
Templating countertops before the sink is on site
Never let countertops be templated before the physical sink is on site. Fabricators cut the opening and reveal to the actual sink - fireclay can vary up to 2% in size out of the kiln - and once the cutout is made, the reveal cannot be changed without replacing the top.
Why: Fabricator guidance is blunt: get the sink in hand before you template. Re-template fees of $75-$150 apply when site conditions are not ready, and a mismatched cutout is unfixable.
Appliance landing areas
Plan uninterrupted counter landing zones: 15 inches beside the refrigerator handle, 12 and 15 inches flanking the cooking surface, 24 and 18 inches flanking the sink, and 15 inches by the microwave and wall oven; where two landing zones meet, use the larger requirement plus 12 inches.
Why: Landing areas are where hot pans, groceries, and wet dishes actually go; kitchens that skip them put hot cookware on floors and tables.
Materials compared
3 materials, rated on the six things that actually go wrong.
| Material | Price tier | Care | Heat | Scratch | Stain | Etch | Impact | Moisture |
|---|---|---|---|---|---|---|---|---|
| Solid brass | Mid | Low | — | — | — | — | — | — |
| Stainless steel (hardware) | Mid | Low | — | — | — | — | — | — |
| Zinc alloy | Budget | Low | — | — | — | — | — | — |
Durability 1–5, higher is better. Independent ratings — em dash means no published rating for that pairing.
The honest trade-offs
- Solid brass — Warm tone flatters both painted and wood cabinetry; durable; living finishes patina gracefully Trade-off: Costs more than hollow or zinc-alloy hardware; lacquered finishes can wear at the grip point
- Stainless steel (hardware) — Corrosion resistant and very durable; in its natural brushed finish there is no plating to wear through; pairs with stainless appliances Trade-off: Limited color range unless plated; brushed surface shows grease and needs regular wipe-downs
- Zinc alloy — Inexpensive; casts into any shape; the standard for builder-grade and much mid-range decorative hardware Trade-off: Softer than brass or steel; thin plating can wear or chip at high-touch edges, exposing gray metal beneath
What it costs
Chicago-market benchmark ranges, dated so you can see how stale they are.
| Line item | Typical range | Unit | As of |
|---|---|---|---|
| Faucet/accessory hole drilled in stone countertop | $65–$120 | per hole | 2026-07 |
| Kitchen faucet installation (labor and minor parts) | $80–$600 | per project | 2026-02 |
| Sink or faucet cutout in stone countertop | $100–$500 | per cutout | 2025-01 |
Benchmarks, not an Ace quote. Ask us for a firm number on your kitchen.
Care, by material
What each surface actually asks of you once it is in.
Solid brass
- Clean and manage patina on brass hardware (Wipe as needed; wax to slow patina) — Unlacquered or solid brass is a living finish that darkens with handling. Wipe pulls with warm water and mild dish soap and dry. To keep it bright, buff with a brass polish then wax; to embrace the patina, just clean gently. Avoid: Vinegar and acids that strip unevenly, steel wool, abrasive pads
Stainless steel (hardware)
- Wipe fingerprints and clean with the grain (As needed) — Wipe stainless pulls with a damp cloth and mild soap, moving with the brushed grain, then dry to avoid water spots. A dab of stainless cleaner or glass cleaner removes fingerprints on polished finishes. Avoid: Chloride or bleach cleaners that can pit, steel wool, abrasive pads
Zinc alloy
- Clean plated zinc hardware gently (As needed) — Most budget pulls are plated zinc alloy with a thin plated finish, so clean only with a damp cloth and mild soap and dry immediately. Abrasives or harsh chemicals wear through the plating and expose the base metal. Avoid: Abrasive cleaners and pads, ammonia, prolonged moisture that can corrode the base metal at chips
Colours that work together
Seven rules and the pairings that survive them.
- Large surfaces (cabinets, counters, floors) must share undertone temperature; metals and accents may cross temperature deliberately. warm/cool clashes read as 'something is off' before anyone can name it
- One hero surface per kitchen — dramatic stone, bold island color, OR statement backsplash. The rest support. two heroes compete; three shout
- Roughly 60% dominant (cabinets/walls), 30% secondary (counters/floor), 10% accent (hardware, lighting, stools). proportion keeps bold choices from taking over
- When mixing values, put the darker color low (island, lowers) and lighter high (uppers, walls). rooms feel grounded, not top-heavy
- Approve every white/gray pairing in the actual kitchen's daylight — north light cools everything, south light warms it. undertones shift dramatically by exposure; the #1 repaint cause
- Match finish maintenance to the household: matte black + hard water, marble + lemon cooks, and gloss white + toddlers are lifestyle mismatches. a color you can't maintain becomes a color you resent
- Commit trends on repaintable/replaceable layers (walls, hardware, stools) and keep 20-year layers (stone, floors) closer to neutral. counters outlive color fashion 3:1
Polished Chrome
- Cabinets: Pure White
Avoid: Warm White / Ivory, Warm Brass / Satin Gold
Warm Brass / Satin Gold
- Cabinets: Pure White, Warm White / Ivory, Charcoal
- Island: Navy, Forest / Emerald, Aubergine Plum
- Countertop: Green / Dramatic Veined Stone
Avoid: Polished Chrome
Brushed Nickel
- Cabinets: Pure White, Espresso, Dusty Blue
Matte Black (Metal)
- Cabinets: Pure White, Natural / White Oak, Charcoal
Questions about faucets
Do my cabinet pulls have to match my faucet and light fixtures?
No — designers deliberately mix metals, and a contrasting hardware finish is one of the cheapest ways to make a kitchen look intentionally designed. The working rules: keep it to two or three finishes total, make one clearly dominant (roughly 70 percent of the visible metal), and pair a warm metal with a cool one — brass with matte black, or polished nickel with oil-rubbed bronze. What to avoid is two finishes that almost match, like brushed nickel next to brushed chrome; that reads as a mistake rather than a choice.
How many faucet holes should I have drilled in my new countertop?
Count every deck item before fabrication: the faucet (one hole for most single-handle models, two at 8 in centers for a bridge), soap dispenser, dishwasher air gap where local plumbing practice requires one, and any filtered-water or instant-hot tap. Each hole costs roughly $65-$120 drilled at the shop; adding one to installed stone later is risky and many fabricators refuse the job. If you are unsure about a future accessory, drilling the extra hole now and capping it is far cheaper than wishing for it later.
Is a touchless kitchen faucet worth it, and what are the downsides?
Touchless faucets genuinely help when your hands are covered in flour or raw chicken - a wave starts the water, which cuts cross-contamination and keeps the handle smudge-free. The honest costs: a premium over the same faucet in manual form, a control box under the sink powered by batteries (commonly AA cells lasting one to two years) or an AC adapter, and electronics that can fail outside warranty. Buy a model with a full manual handle override so the sink still works normally if the sensor dies, and keep spare batteries on hand.
There is a cloudy white crust around my faucet that will not wash off. What is it and what removes it safely?
That is hard-water mineral deposit (limescale), not a stain in the quartz — and with the notoriously hard groundwater across Illinois, Wisconsin, and Indiana, nearly every kitchen gets it. Safe removal: a nonabrasive cleaner like a soft-scrub gel on a damp cloth, or a 50/50 white vinegar and water solution applied briefly — no more than a couple of minutes — then rinsed thoroughly and dried, since acid left sitting will dull quartz resin. Skip razor blades, scouring powder, and steel wool. Prevention is unglamorous but effective: dry the area around the faucet after use instead of letting water evaporate there.
Why does the fabricator need my sink and faucet picked before templating?
Because every cutout and faucet hole is cut at the shop from exact specifications, not on site. An undermount sink usually has to be physically at the house on template day so the templater can capture the mounting and reveal precisely. Changing the sink, faucet configuration, or cooktop after templating means re-programming or re-cutting the stone, which typically adds one to three weeks and can add cost — this is the single most common self-inflicted countertop delay.
Narrowed it down?
Bring a colour, a rough measurement, or nothing at all — we template for free and quote in one number.
Ready for a real number?
Free in-home template and an honest quote — you keep your money until there's a countertop to trade it for.