
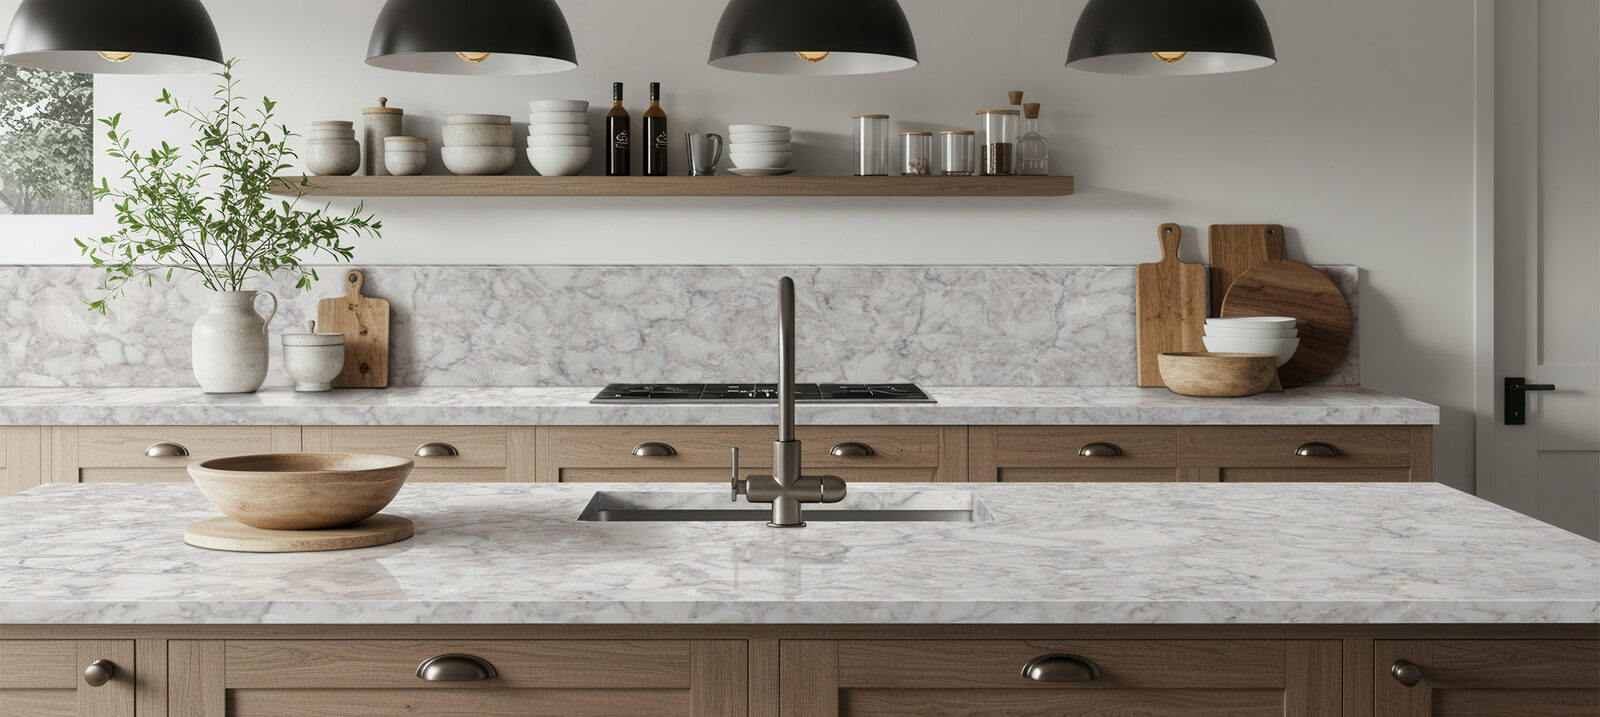
Backsplash Installation
Glass, ceramic, and stacked-stone backsplashes that finish the wall your new countertop deserves.
Where we install
Fabricated in Elk Grove Village, installed across the northwest suburbs.
What this service covers
And, just as usefully, what it does not.
Glass, ceramic, and stacked-stone backsplashes that finish the wall your new countertop deserves.
What we do
- Wall prep — Remove any old backsplash, repair and prime drywall, mark outlet moves and under-cabinet lighting wiring before anything is set.
- Set tile — Tile is laid out from the counter line and set in thinset mortar. Half a day for a simple subway field; up to two days for herringbone, mosaics, or full-wall runs. Mortar cures overnight before grouting.
- Grout — After the overnight mortar cure: grout, clean, and tool the joints. Half a day to a day.
- Caulk and seal — Flexible silicone (never grout) at the counter-to-tile joint and inside corners; sealer on natural stone tile and cement grout.
What stays on your side
- Select and order tile — Choose tile, pattern, and grout color; confirm stock. In-stock tile ships in days; special-order tile is the usual delay and can take two weeks or more.
Not in this quote
- Cabinet repair or replacement, and any cabinet levelling beyond shimming for the new top.
- Electrical and gas work; licensed plumbing beyond disconnecting and reconnecting the sink and faucet.
- Municipal permits — countertop-only swaps are usually cosmetic, but permitting is home-rule and varies suburb to suburb.
- Drywall repair, painting, and flooring changes behind or below the work.
How it goes, step by step
5 steps · 2.3–18.5 days from first call to finished counter.
Select and order tile
Choose tile, pattern, and grout color; confirm stock. In-stock tile ships in days; special-order tile is the usual delay and can take two weeks or more.
Tip: Order 10-15 percent overage. A broken box or a bad cut without spare tile stalls the whole job; leftover tile is also your future repair kit.
Wall prep
Remove any old backsplash, repair and prime drywall, mark outlet moves and under-cabinet lighting wiring before anything is set.
Tip: This only happens after the countertops are installed — the tile has to land on the real counter line, and slab handling would endanger finished tile.
Set tile
Tile is laid out from the counter line and set in thinset mortar. Half a day for a simple subway field; up to two days for herringbone, mosaics, or full-wall runs. Mortar cures overnight before grouting.
Tip: Ask to see the dry layout before setting starts — centering on the range, how cuts fall at corners and outlets. Ten minutes here prevents the one flaw you will stare at forever.
Grout
After the overnight mortar cure: grout, clean, and tool the joints. Half a day to a day.
Tip: Grout color changes the pattern more than tile color — confirm the swatch against your actual set tile, not the showroom board.
Caulk and seal
Flexible silicone (never grout) at the counter-to-tile joint and inside corners; sealer on natural stone tile and cement grout.
Tip: The counter joint must be caulk because the counter and wall move independently — grout there cracks within a season. Check it annually and recaulk as needed.
What it costs
Published Chicago-market benchmarks. Bring them to any quote, including ours.
| Line item | Typical range | Unit | As of |
|---|---|---|---|
| GFCI outlet added during backsplash installation | $130–$300 | per project | 2023-11 |
| Ceramic tile backsplash, installed | $12–$30 | per sq ft | 2025-08 |
| Glass tile backsplash, installed | $18–$43 | per sq ft | 2025-08 |
| Kitchen backsplash project, tile (typical 30-40 sqft) | $500–$1,500 | per project | 2025-08 |
| Marble tile backsplash, installed | $30–$150 | per sq ft | 2025-08 |
| Porcelain tile backsplash, installed | $13–$35 | per sq ft | 2025-08 |
| Professional tile backsplash installation, all materials | $30–$75 | per sq ft | 2023-09 |
| Quartz slab backsplash, installed | $50–$120 | per sq ft | 2026-06 |
| Regrout kitchen tile backsplash (professional) | $150–$400 | per project | 2026-07 |
| Remove existing backsplash | $3–$6 | per sq ft | 2023-11 |
| Tile backsplash installed | $15–$40 | per sq ft | 2026-07 |
| Travertine tile backsplash, installed | $13–$40 | per sq ft | 2025-08 |
Chicago-market benchmarks for common add-ons — not an Ace quote; your number depends on square footage, edge profile, cutouts and tear-out.
Materials we work with
Price tier, care level and independent durability ratings, side by side.
| Material | Price tier | Care | Heat | Scratch | Stain | Etch |
|---|---|---|---|---|---|---|
| Ceramic tile | Budget | Low | 5/5 | 4/5 | 4/5 | — |
| Porcelain tile | Mid | Low | 5/5 | 5/5 | 5/5 | — |
| Glass tile | Mid | Medium | 4/5 | 3/5 | 5/5 | — |
| Marble tile | Premium | High | 4/5 | 2/5 | 2/5 | — |
| Travertine tile | Mid | High | 4/5 | 2/5 | 2/5 | — |
| Mosaic tile | Mid | Medium | 4/5 | 3/5 | 2/5 | — |
| Zellige tile | Premium | Low | — | — | — | — |
| Quartz slab | Luxury | Low | — | — | — | — |
Durability 1–5, higher is better. Ratings are independent, not manufacturer marketing.
The honest trade-offs
- Ceramic tile — Least expensive mainstream backsplash (roughly $12-30/sqft installed); huge range of colors, shapes, and trim; glaze wipes clean; easy to cut, so it is the most DIY-friendly tile; handles kitchen heat and steam without trouble. Trade-off: Glaze can chip at edges and the clay body beneath shows; color and size vary by dye lot, so matching later is hard (buy 10-15% extra); unglazed edges need bullnose or metal trim to look finished.
- Porcelain tile — Harder and denser than ceramic; face is effectively stain- and moisture-proof; convincing marble, concrete, and brick looks at a fraction of natural-stone upkeep; large-format panels can fake a slab backsplash with few joints. Trade-off: Harder to cut cleanly - needs a wet saw with a porcelain blade, so less DIY-friendly; costs a bit more than ceramic; big panels demand very flat walls and experienced setters.
- Glass tile — Absorbs no water and cannot stain; reflects light, which visibly brightens small or dark kitchens (common in older Midwest housing stock); many recycled-content lines; color goes all the way through many products. Trade-off: Shows smudges, grease film, and water spots more than matte surfaces; edges chip if abused; cut edges are conspicuous and adhesive can telegraph through translucent tile, so bright-white thinset and a careful pro install matter; scratches cannot be polished out easily.
- Marble tile — Real stone veining no print fully matches; classic look that suits traditional and high-end kitchens; tile format costs far less than a marble slab; a backsplash sees far less abuse than a marble counter, so it is a lower-risk place to use it. Trade-off: Porous - needs sealing 1-3x per year (more behind the range), and sealing prevents stains but NOT etching; acids like lemon, vinegar, wine, and many cleaners dull the polish on contact; pH-neutral stone cleaners only.
- Travertine tile — Warm, earthy texture that suits rustic, Tuscan, and old-world kitchens; noticeably cheaper than marble for a natural-stone look; tumbled formats hide fingerprints and small chips well. Trade-off: One of the most porous common stones - wants sealing more often than marble; unfilled surface voids collect cooking grease near the range; acid-sensitive like all limestone; its 2000s-era ubiquity reads dated to some buyers unless styled deliberately.
- Mosaic tile — Complex patterns install sheet-by-sheet instead of piece-by-piece; mixes materials and colors for a custom look; small pieces wrap outlets and odd wall shapes with fewer awkward cuts. Trade-off: Far more grout lines to clean - and to seal when the chips are natural stone; sheet seams telegraph if the installer does not stagger and re-space them; stone and glass blends push material cost up quickly.
- Zellige tile — Luminous glaze variation and handmade texture; the signature japandi and English-country tile Trade-off: Deliberate irregularity complicates installation; wider joints; higher cost and lead times
- Quartz slab — No grout lines at all - nothing to scrub or discolor; nonporous, so cooking splatter wipes off; seamless visual continuation from countertop up the wall; best cleaning-to-effort ratio of any backsplash. Trade-off: Roughly $50-120+/sqft installed - usually the most expensive option per square foot; requires professional templating, fabrication, and flat walls (never DIY); resin can scorch under prolonged direct heat behind pro-style ranges; replacing it later means replacing the whole panel.
Mistakes that cost people money
Every one of these shows up on jobs we get called in to fix.
Assuming retrofit roll-out trays are equivalent to true drawer-base cabinets
What it costs you: Disappointment after paying for a cabinet refresh: roll-outs still hide behind doors, lose several inches of width to hinges and the center stile, and carry less weight than drawer boxes, so heavy cookware storage stays awkward.
How to avoid it: Decide the drawers-vs-doors question before choosing between painting and replacement. If most base cabinets should be drawers, that is a replacement-time decision - dealers price drawer bases roughly 20-40% above door bases and they cannot be created from existing door cabinets.
Already done it? Add roll-outs to the two or three most-used cabinets and accept the compromise, or budget the affected run for future drawer-base replacement.
Attempting a DIY slab countertop install
What it costs you: Slab stone is heavy and brittle in the wrong axis: DIY moves crack slabs at sink cutouts, chip finished edges, and injure backs - and self-install usually voids the fabricator warranty.
How to avoid it: Let the fabricator crew template, carry, and set the stone; if you want DIY savings, take on demolition, painting, or the backsplash instead.
Already done it? Small chips can be epoxy-repaired by a stone pro; a crack across a cutout usually means re-fabricating that section.
Buying a bold, trendy backsplash tile straight from the store display
What it costs you: In your kitchen light, against your counters and cabinets, the pattern overwhelms the room or clashes - and backsplash regret sits at eye level, every day.
How to avoid it: Bring samples home and view them morning and evening against the actual countertop and cabinet finishes; pair a patterned backsplash with quiet countertops (and vice versa).
Already done it? Backsplash re-dos are the least painful fix in the kitchen: a typical 30-40 sq ft field is a modest re-tile compared with replacing tops or cabinets.
Expecting painted solid-wood 5-piece doors to stay free of joint lines forever
What it costs you: Hairline cracks appear in the paint at stile-rail joints and panel edges after the first heating season; Midwest indoor humidity swings from roughly 25 percent in winter to 60+ percent in summer, and wood moves with it.
How to avoid it: For a paint-forever kitchen, choose one-piece MDF doors or 5-piece doors with MDF center panels, or accept the hairlines as normal wood behavior rather than a workmanship defect.
Already done it? Caulk or fill the lines and touch up at the next repaint; the cracking is cosmetic, not structural, and does not mean the doors are failing.
Grouting the joint where tile meets the countertop
What it costs you: Rigid grout in a joint that moves - counter, cabinets, and wall all expand and contract differently - cracks and lets water into the seam below.
How to avoid it: Leave a small expansion gap at every change of plane (countertop, cabinet sides, inside corners) and fill it with color-matched silicone caulk, not grout.
Already done it? Rake out the cracked grout line and re-fill with matching silicone - an hour of work that prevents real water damage.
Leaving new grout unsealed
What it costs you: Cementitious grout is porous: it absorbs grease and moisture, stains, grows mildew, and eventually crumbles - and moisture migrating through failed grout behind a sink or range softens the drywall behind it.
How to avoid it: Seal cementitious grout after it fully cures (roughly 48-72 hours - check the manufacturer bag), renew the sealer periodically, or specify epoxy grout to skip sealing at a higher install cost.
Already done it? Deep-clean the grout, let it dry fully, then apply a penetrating sealer; badly stained lines can be color-sealed or raked out and regrouted.
How long it takes
2.3–18.5 days in total — most of it is fabrication, not install day.
| Stage | Typical duration | Who |
|---|---|---|
| Select and order tile | 1–14 days | Homeowner |
| Wall prep | 0.3–1 day | Contractor |
| Set tile | 0.5–2 days | Contractor |
| Grout | 0.3–1 day | Contractor |
| Caulk and seal | 0.3–12 hr | Contractor |
Calendar days, not working hours. Slab availability is the usual variable.
Questions about backsplash installation
Can I install a tile backsplash myself?
Of the three projects, this is the most DIY-friendly: small area, no structural stakes, forgiving timeline. The skills that separate good from regrettable are layout planning around outlets and edges, straight cuts (rent a wet saw), consistent spacing, and clean grout work - and buy 10 to 15 percent extra tile for cuts and breakage. Professional labor runs roughly $5 to $20 per square foot if you decide midway that a flawless finish matters more than the savings.
Can I install my own backsplash, or should I hire a tile setter?
A straight running-bond or stacked ceramic backsplash is one of the most DIY-friendly tile jobs in a house - small format, no water exposure like a shower, and you save roughly $10-15 per square foot in labor. Hand it to a pro when the job involves glass tile (visible adhesive and cut edges), natural stone (sealing, blade chatter, breakage), herringbone or diagonal layouts (compounding alignment errors), large-format panels, or any slab product, which is fabricator work full stop. Whoever installs it, outlets are the tell: sloppy cuts around receptacles are the first thing a trained eye notices.
Ceramic or porcelain - does the difference actually matter on a backsplash?
Less than the sales pitch suggests. Porcelain’s advantages - density, near-zero water absorption, chip resistance - matter most on floors; a backsplash never gets walked on, so glazed ceramic holds up fine for decades there. Choose on looks and price, with two caveats: porcelain is the better canvas for convincing marble and brick looks, and ceramic is markedly easier to cut if you are DIYing.
Do I have to tear out the old backsplash, or can new tile go over it?
Tiling over existing tile is technically possible on a sound, flat installation, but most professionals recommend removal: doubling up adds thickness that crowds electrical outlets, window trim, and the counter joint. Removal typically costs $3 to $6 per square foot and often takes chunks of drywall with it, so expect a wall-repair line on the quote - that is normal, not padding.
Do I need special heat-resistant tile behind the range?
Ordinary ceramic and porcelain tile are fired in a kiln at well over 1,000 degrees - your range cannot hurt them, so no special product is needed for heat. What actually suffers behind a cooktop is everything around the tile: cement grout absorbs grease and discolors, natural stone like marble can etch and darken from splatter and aggressive cleaners, and quartz slab has resin binders that manufacturers protect with required clearances from burners. Choose the tile for looks and cleanability - glossy glazes wipe down easiest - and put the worry into grout choice and sealing instead. A stainless or glass-and-metal mosaic accent behind the range is a style decision, not a safety requirement.
Do I really have to seal a marble or travertine backsplash?
Yes - plan on one to three applications a year, with the zone behind the range needing it most; travertine, being more porous, wants it more often than marble. Know what sealer does and does not do: it slows staining from grease and splatter, but it cannot stop etching - the dull marks acids like lemon juice, vinegar, and wine leave on contact. Clean only with pH-neutral stone cleaners (no vinegar, ammonia, or bleach) and a stone backsplash stays beautiful with far less drama than a stone countertop.
Ready for a real number?
One visit, one number, no end-of-job surprises. We template digitally and fabricate in our own Elk Grove Village shop.
Ready for a real number?
Free in-home template and an honest quote — you keep your money until there's a countertop to trade it for.